
Disclaimer: I was gifted the ingarden to write a review on my experience; all opinions are my own.
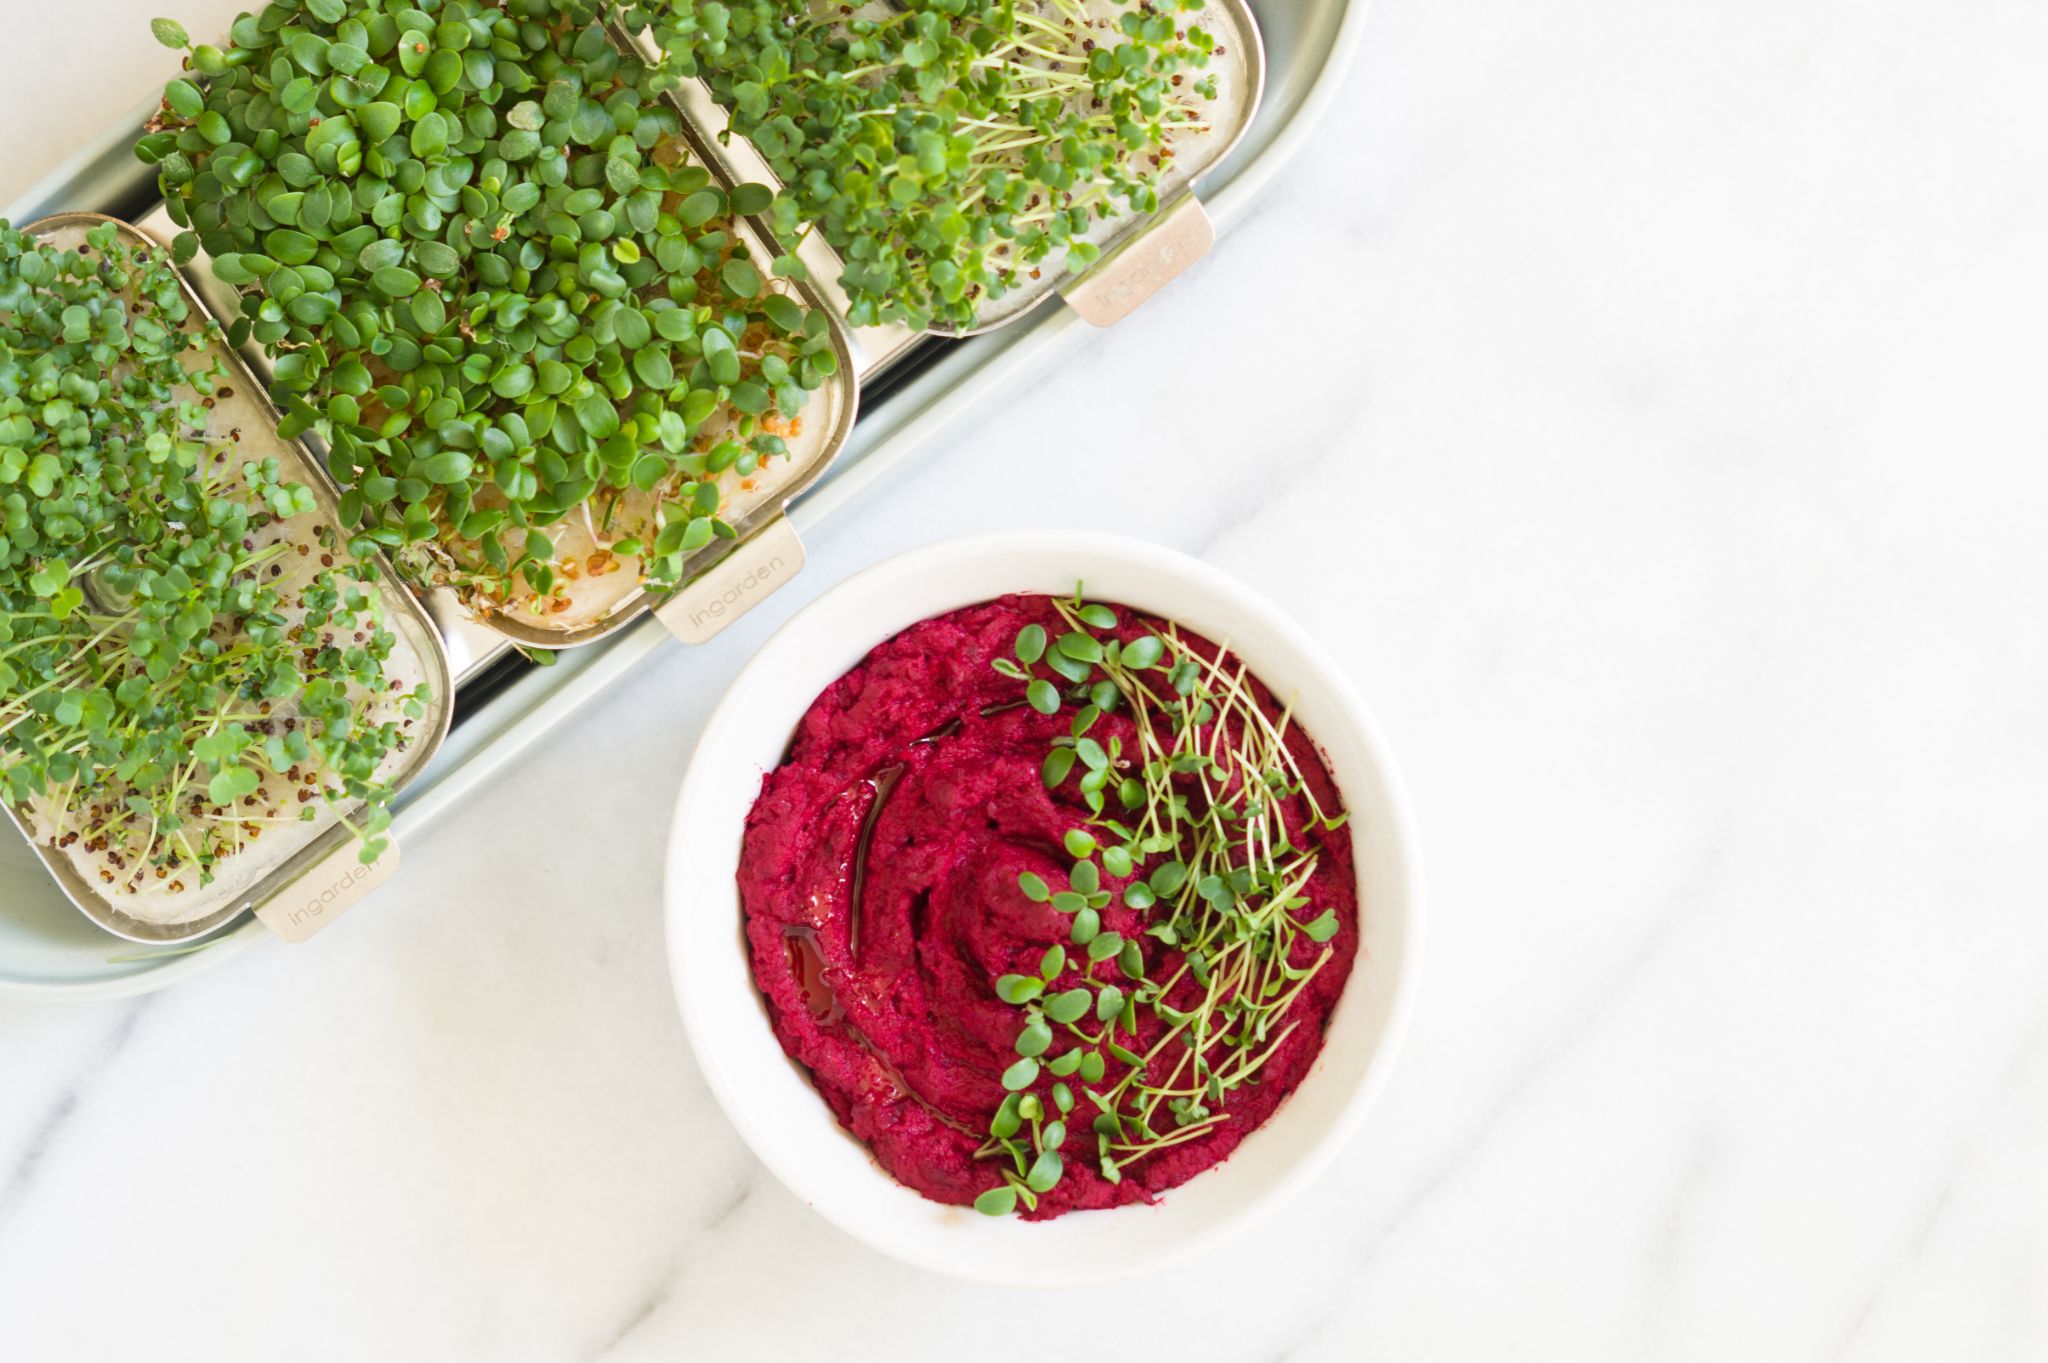
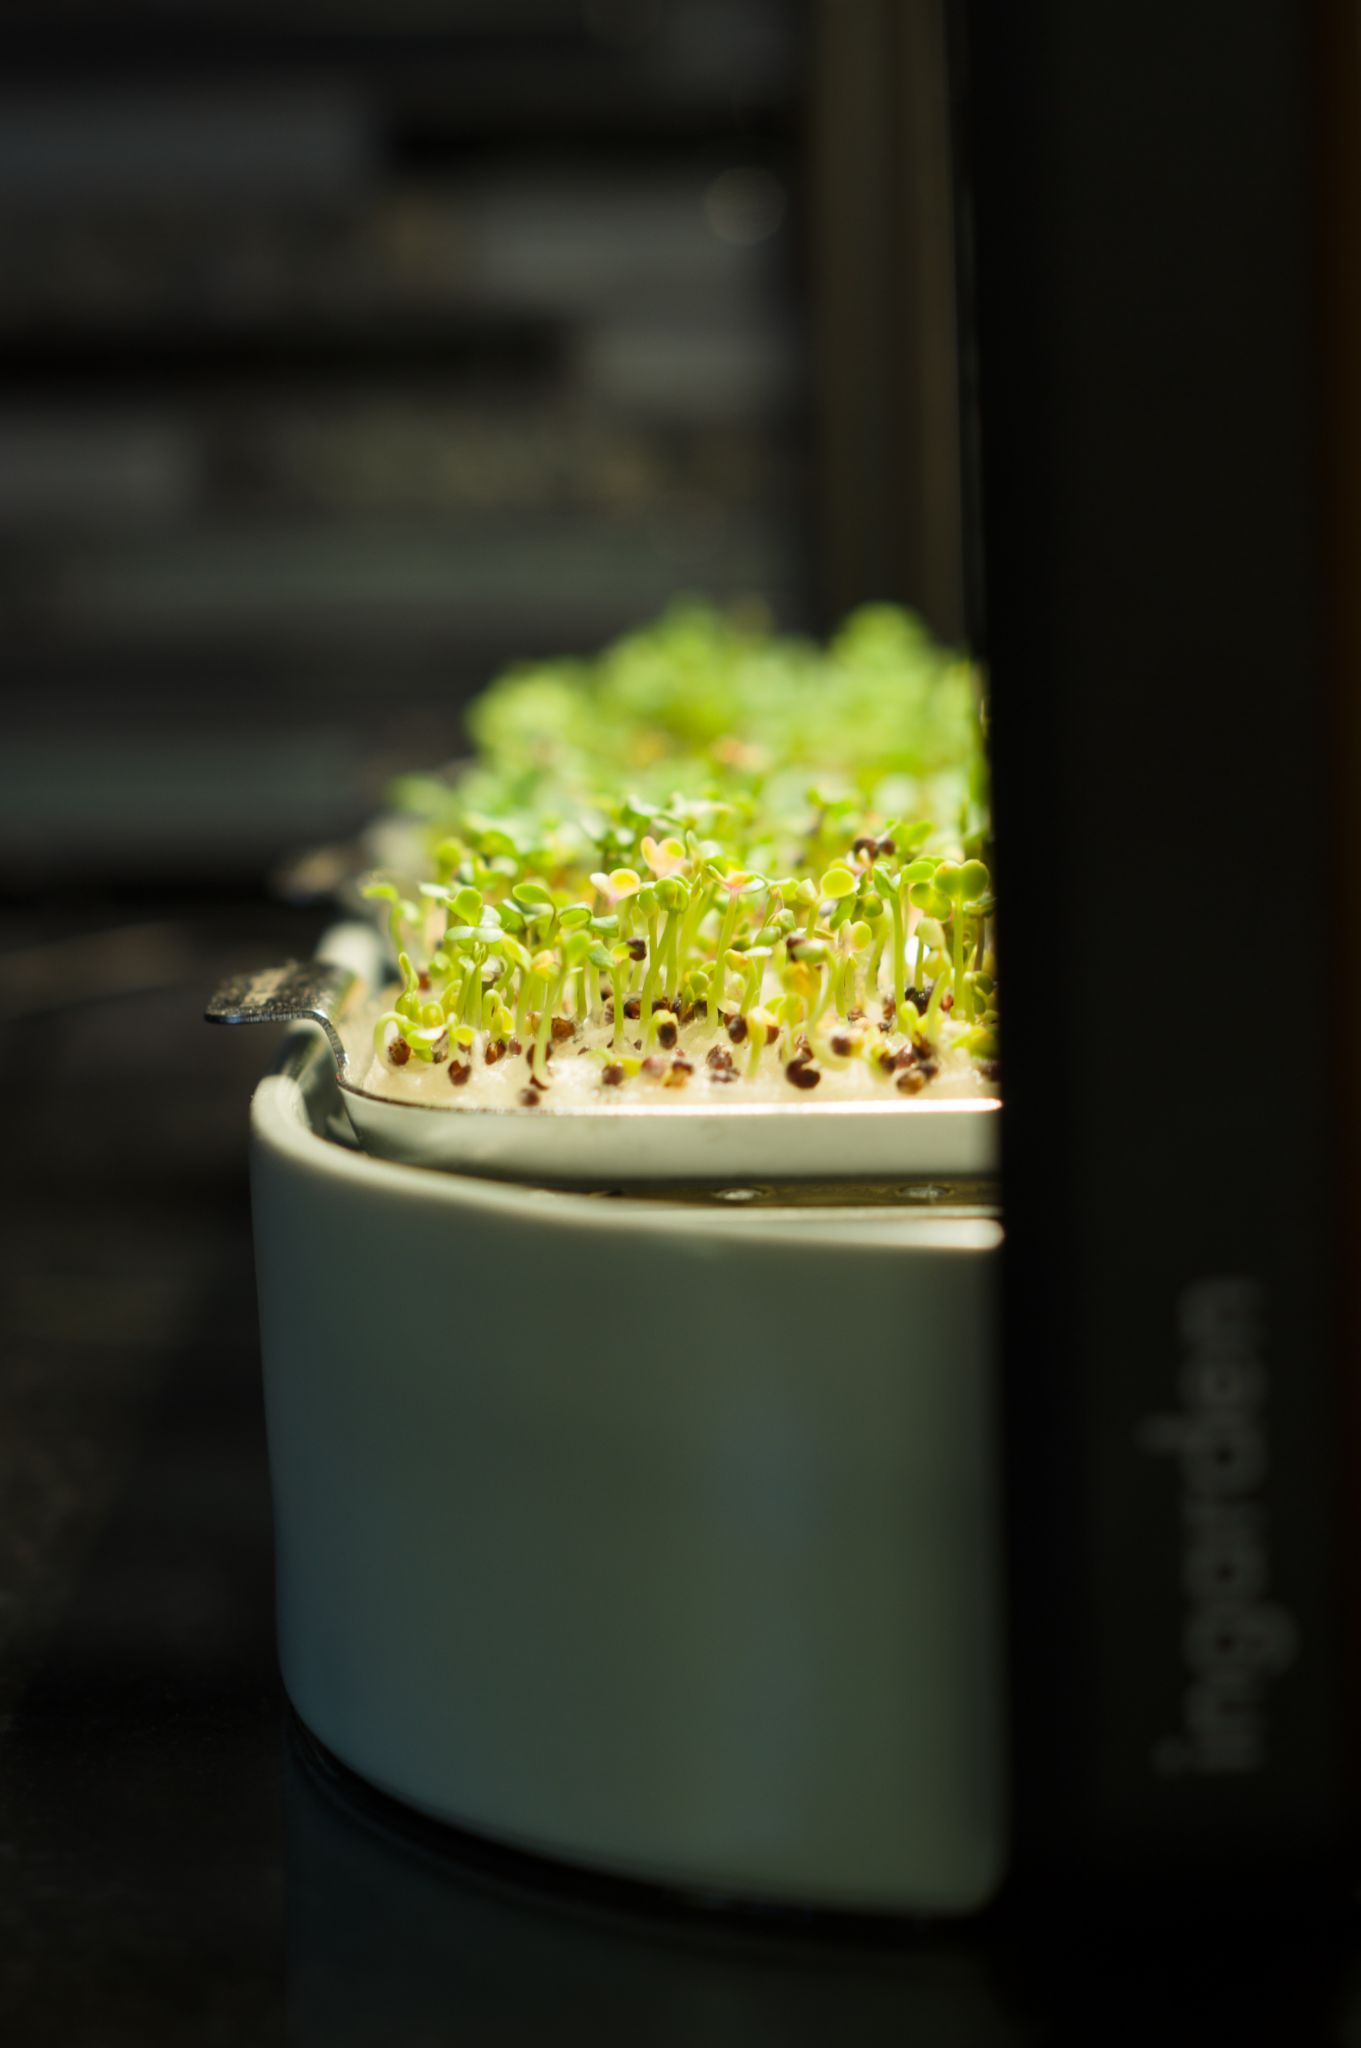
I recently discovered an incredibly easy way to grow my own fresh organic microgreens at home year-round: ingarden. ingarden is a self-sustaining indoor microgreens garden that you can set up anywhere in your home (just not in direct sunlight). The non-GMO, organic, biodegradable seed pads grow over 1,000 microgreens every week! ingarden offers a variety of microgreens that you can grow at home, such as arugula, kale, red cabbage, cress, radish, broccoli, mustard and alfalfa. If you aren’t familiar with microgreens, they are tiny plants from seeds that are packed with nutrients and add delicious flavor to a variety of recipes. I like to add mine to salads, sandwiches or on top of pasta dishes.
Buying microgreens at the store is not only expensive, it is wasteful with all of that packaging. The ingarden is made of a stainless steel frame that contains an LED grow light, stainless steel trays, wicks and a hand-crafted ceramic bowl – no plastic! The packaging is also eco-friendly and everything can be recycled.
The best part of the ingarden is, after set-up, you barely have to lift a finger. It is almost like magic watching your microgreens grow in a beautiful ceramic dish that you can move around and even use as a centerpiece for your dining table. There is no soil required – the seed pads have everything your microgreens need to get growing. You don’t have to worry about over-watering or under-watering your microgreens thanks to an innovative wick watering system. You only need to fill the ceramic bowl with water about once per week. In addition, the LED grow light is on a timer, so it is on for 12 hours and off for 12 hours for optimal growth. You can also adjust the brightness of the LED grow light.

I also love that ingarden offers different colors for the ceramic bowl, so you can match your home decor vibe! I went with the warm mint, which matches my kitchen so nicely.
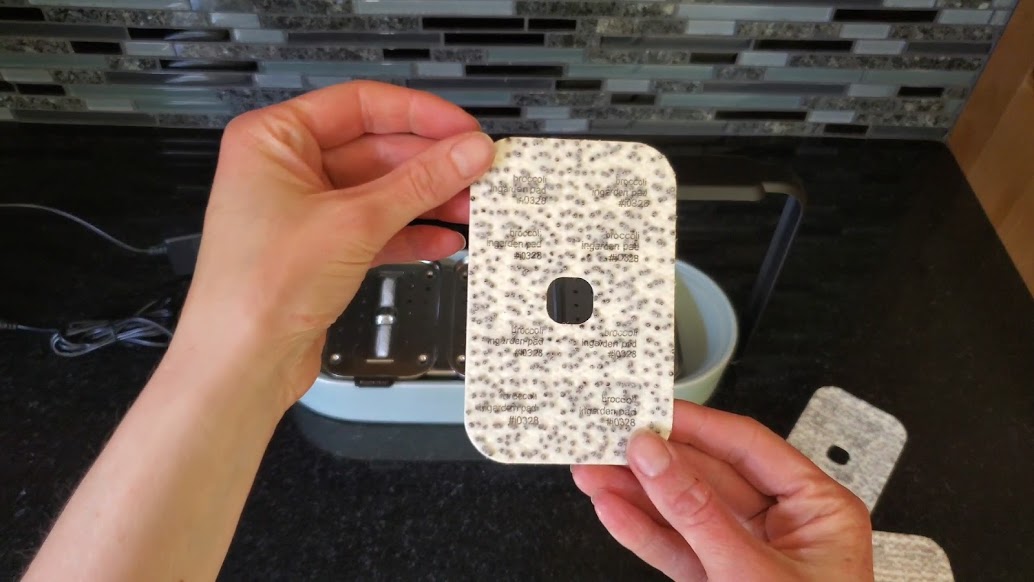
The set-up of my ingarden only took me about 5 minutes – it is so easy. All you need to do is place the ceramic bowl into the frame and then place the stainless steel tray holder, trays and wick holders on top. Then, place your seed pads onto the trays (it will hold three seed pads at a time).
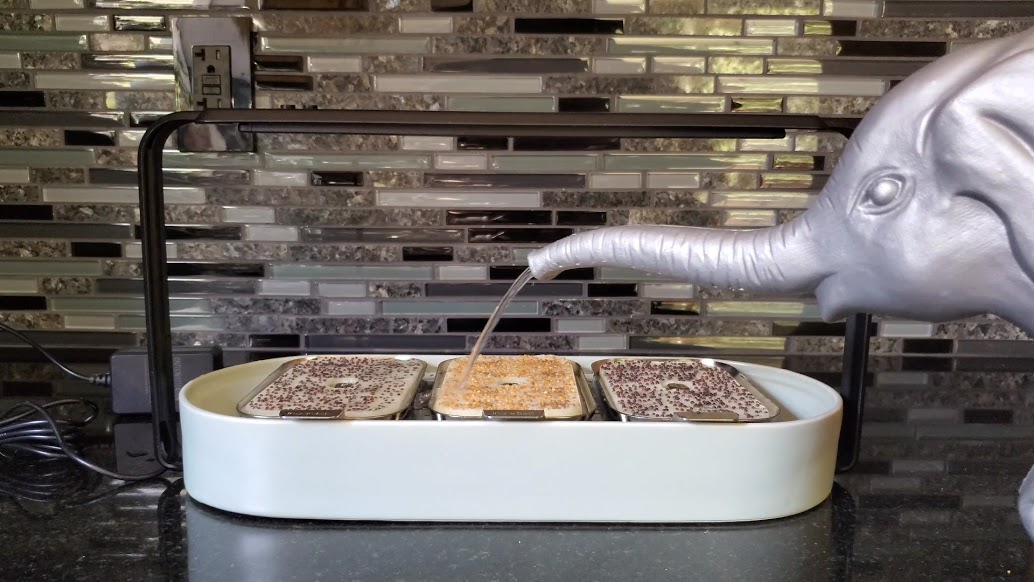
Once everything is in place, all you have to do is pour water on top of the seed pads and fill the ceramic bowl.
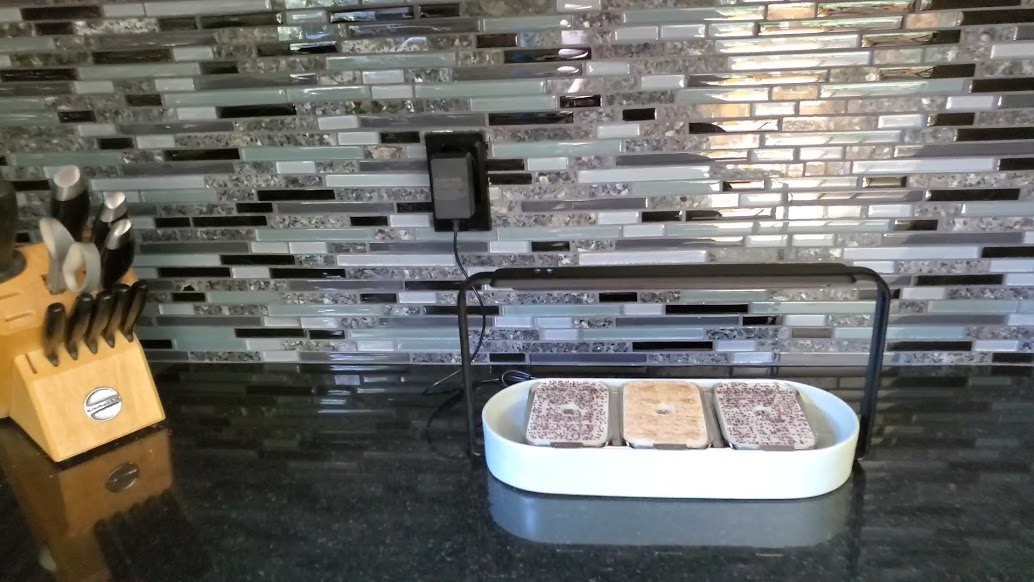
Plug the ingarden in, switch on the LED grow light timer and sit back and relax while your microgreens start growing.
Harvesting your microgreens from your ingarden is easy – just grab a clean pair of scissors and cut them at their base. Eat them alone or add them to your favorite dish. What dish is your favorite to add in some microgreens?
Check out my review video below to see the ingarden in action! You can get 20% the ingarden off by using code KRISTIANNE20.


I’m looking at purchasing one of these but I haven’t been able to get any specific images of the trays, wicking material etc. I’m planning on making my own seed mats for it and want to make sure it’s possible before I purchase (their seed variety is pretty limited). Thanks!
Awesome!