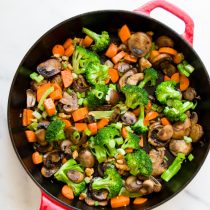
I don’t know about you guys, but with all of the coronavirus stuff going on, I have been stress baking to the max. It is time to get back on track with healthy eating, so I made this vegetable stir... Continue reading →
I am a Thermomix® USA consultant, and here is my story… Eleven years ago, I was introduced to Thermomix® by my mother-in-law in Germany, and I immediately fell in love. A kitchen appliance that with such diverse functionality amazed me... Continue reading →
Hi! It has been a very long time, I know. The years really do go by in a blink… I am sitting here writing this post 2 kids, a dog, and house later since starting this food blog almost 10... Continue reading →
On one of my days off this week, I made this thin crust pesto pizza. I have a basil tree that keeps growing like crazy, so I have been making a lot of pesto lately! The first time I tried... Continue reading →
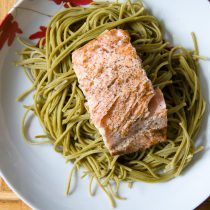
I love pairing salmon with edamame beans, so I was thrilled when I found a box of Explore Cuisine Organic Edamame Spaghetti in my January Degustabox! These noodles are light and healthy, and contain a good amount of protein since... Continue reading →
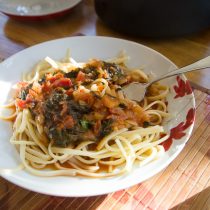
Are you guys ready for the holidays? They always seem to come so fast. With all of the hustle and bustle lately, I have been heavily relying on quick and easy dinners. I was excited to try Barilla Sun-Dried Tomato... Continue reading →
Looking for a super quick, easy dinner? Look no further! This slow cooker mango habanero chicken taco recipe is perfect for busy weeknights this summer. Let your slow cooker do all the work for you. After simmering in the mango... Continue reading →
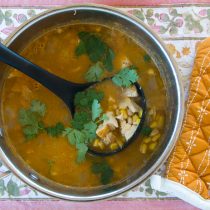
With the cooler weather lately, we have been craving warmer dishes. This hearty white bean chicken chili is an easy make-ahead dinner that will warm you up on the chilliest days this Fall and Winter season. I used Bush’s Best... Continue reading →
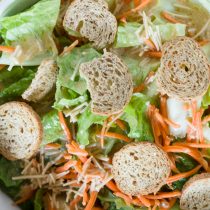
We rarely buy store-bought salad dressings. Making them at home is so easy, and saves a lot of money in the long run! This parmesan vinaigrette requires few ingredients, and is very flavorful. I used pre-shredded carrots to save time,... Continue reading →
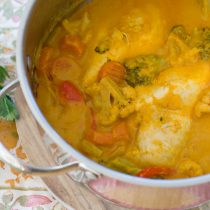
I have never been good at cooking Indian cuisine. My curries always turn out bland, never enough flavor. For me, Indian food is the hardest food to cook. There are so many spices and flavors, it can be overwhelming. I... Continue reading →